


Understanding ophthalmoscope bulbs: types, comparisons and maintenance
Keeler
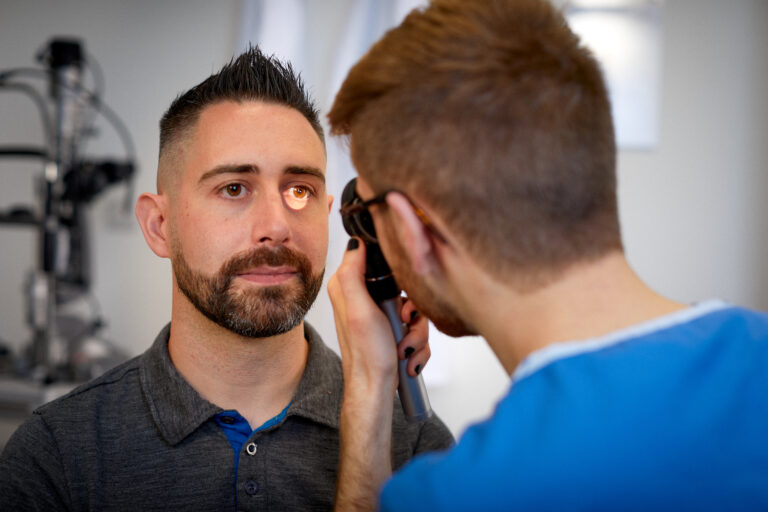
When it comes to diagnosing eye conditions, your handheld direct ophthalmoscope plays an important role in any examination. And key to getting a consistently good view? Its bulb, which provides the necessary illumination for examining your patients’ eyes.
In this blog, we explore the different types of ophthalmoscope bulbs available; their characteristics and differences, how to maintain them effectively, and why we still make ours by hand.
1. Ophthalmoscope illumination
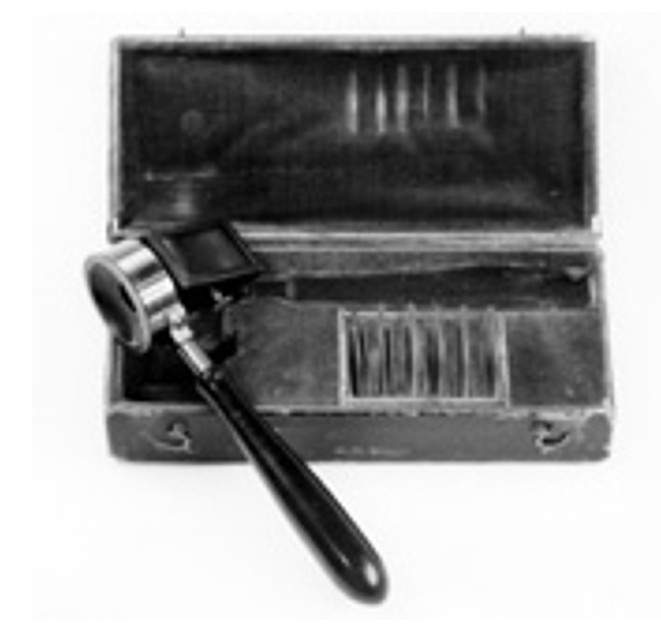
It is now more than 150 years since Hermann von Helmholtz’s ‘discovery’ of the ophthalmoscope in 1851. At the time, Helmholtz called it an Augenspiegel (eye mirror): the name ‘ophthalmoscope’ (eye-observer) did not come into common use until three years later; in 1854.
The earliest source of illumination for an ophthalmoscope was a naked candle. The candle was quickly replaced by the gravity-fed oil lamp and then the Argand gas-burning lamp.
We’ve come a long way since then and today, we offer three types of bulb illumination for our diagnostic instruments.
2. Types of ophthalmoscope bulbs
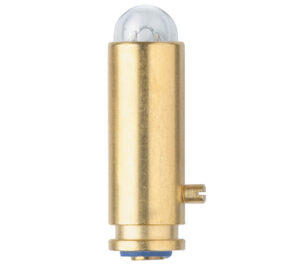
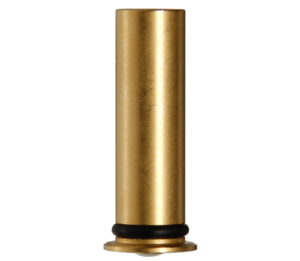
Halogen bulbs
Halogen ophthalmoscope bulbs comprise a thin tungsten metal filament surrounded by an inert halogen gas (such as iodine), all encased in a sealed glass capsule. When the bulb is connected to the powered-on battery handle, the electrical current heats up the tungsten filament and it starts to glow brightly.
Light emission – Compared to the Xenon bulbs and LEDs described below, halogen bulbs produce a softer, off-white or golden light, which can be beneficial for retinal examinations requiring reduced pupil contraction.
Keeler halogen bulbs are available in 2.8V (blue) or 3.6V (red) and are colour-marked on their base for differentiation.
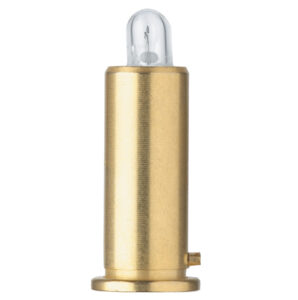
Xenon bulbs
Xenon bulbs use a similar method to halogen, however the filament is instead surrounded by xenon gas.
Light emission – When the bulb is connected to the circuit via the battery, the electrical current heats up the tungsten filament and it starts to glow in a brighter, whiter light compared to the halogen bulbs.
Keeler xenon bulbs are available in 2.8V (blue) or 3.6V (red) and are colour-marked on their base for differentiation.
LED (Light Emitting Diode) light source
A more contemporary bulb option, light emitting diodes produce light when electrons move through a semiconductor and release energy as photons, a process called electroluminescence. They have a colour output of CRI 90 and temperature 3,000K which is controlled by an electronic circuit board.
Light emission – LED light sources are highly efficient and long-lasting, producing brighter and whiter light while consuming less power.
Keeler LED bulbs have a black colour mark on their base.
Did you know that we still craft our light bulbs by hand, at our global HQ and manufacturing site in Windsor, United Kingdom?
3. Bulb characteristics
Illumination & heat emission
Illumination
| Bulb type | Light colour | Characteristics |
|---|---|---|
| Halogen | Golden | Bright |
| Xenon | White | Bright |
| LED | Various colours | Very bright |
Heat emission
- Halogen bulbs stay cooler due to their quartz encasement
- Xenon bulbs may get warmer despite the quartz encasement
- LED bulbs are the coolest, giving off the least amount of heat
Lifespan and efficiency
LED light sources outperform others in terms of lifespan and efficiency. They can last around 10,000 hours, which is significantly longer than other types. This extended life means less frequent replacements and lower long-term costs.
Effectiveness and user preference
While LED light sources may have a higher initial cost, their longevity and energy efficiency make them more cost-effective in the long run.
Halogen and xenon bulbs, being older technology, are generally cheaper to replace but may need more frequent changes.
The colour temperature of LED light allows for more accurate pigmentation assessment during examinations and provides more consistent illumination across the entire viewing area.
Binocular indirect bulb considerations
When it comes to illumination on your binocular indirect ophthalmoscope, the bulb itself shouldn’t be your only consideration, as the location of your light control is also an important factor.
In a recent whitepaper for our Vantage Plus binocular indirect ophthalmoscope, an independent study demonstrated how both a) the ergonomic stability of this product helped to reduce fatigue and neck muscle strain, and b) the light intensity adjustments and ergonomic positioning of the controls allowed users to modify their view without excess effort or disruption”.
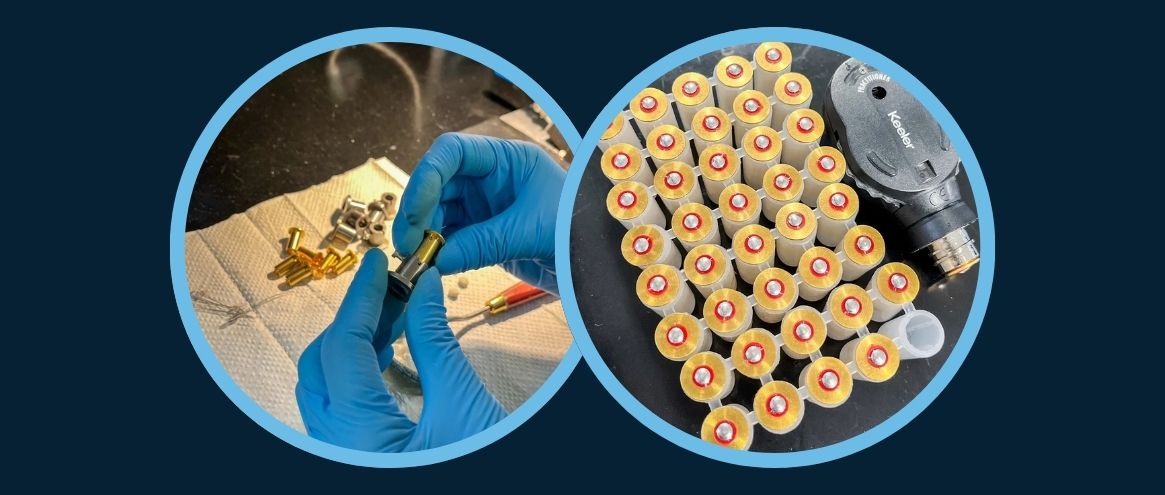
4. Made by hand for almost 100 years
However humble it looks, we understand how crucial the bulb is to your handheld instrument’s functionality.
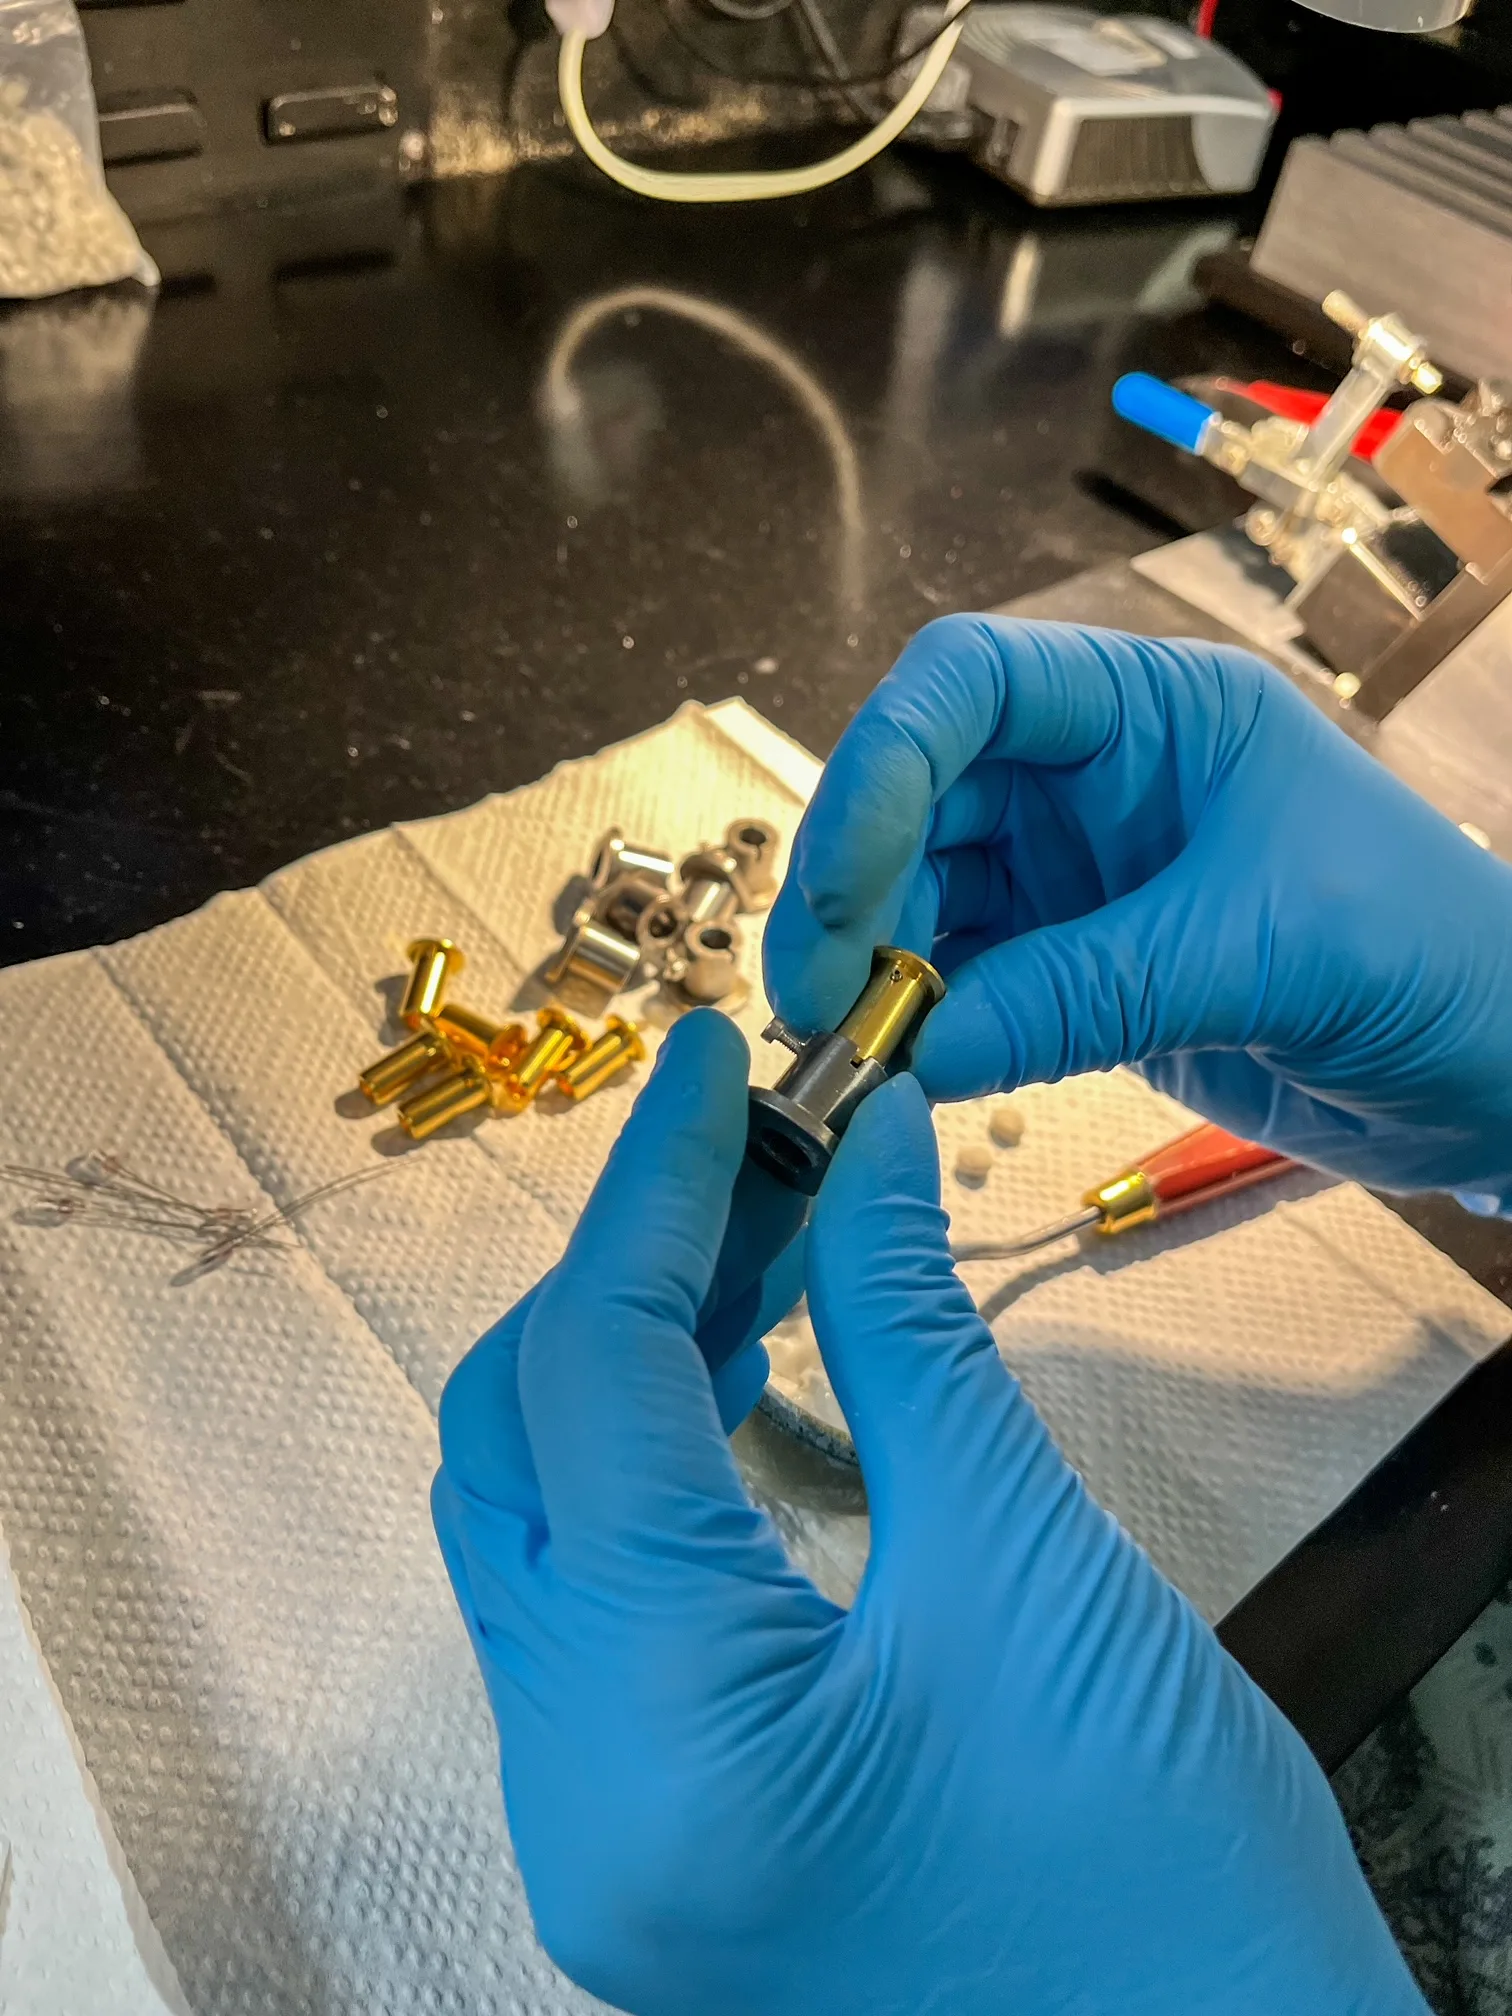
Every Keeler halogen, xenon and LED bulb is handmade using the following process, together with lots of love and attention:
- Focused by hand – A camera is used to view the filament, which is almost invisible to the naked eye, to ensure it is straight, and providing a clear image
- Set by hand – Once focused, they are set in place using cement, micro-soldering or glue, dependent on the bulb.
- Finished by hand – Removal of excess wires, cleaned, and re-tested by quality control
This is how we can be confident that the Keeler bulb you receive will have the reliability and durability required to withstand rigorous everyday use throughout your career.
5. Maintaining your ophthalmoscope
Changing the bulb
- Allow the ophthalmoscope to cool before changing the bulb.
- Turn off the handle and separate it from the instrument head.
- Remove the old bulb carefully and dispose of it according to local regulations.
- Insert the new bulb, ensuring it’s the correct type and voltage.
- Reassemble the ophthalmoscope.
Battery maintenance
- For Keeler ophthalmoscopes powered by rechargeable 3.6V lithium batteries, use 3.6V halogen/xenon bulbs or LEDs
- For Keeler ophthalmoscopes powered by dry cell batteries (e.g., 2x AA batteries) use 2.8V halogen/xenon bulbs or LEDs
- Remove batteries if the device won’t be used for an extended period.
- Never mix battery types or use damaged batteries.
- Charge batteries in environments between 0˚C and 40˚C.
Safety considerations
- Handle halogen bulbs with care as they can shatter if damaged.
- Use only manufacturer-recommended bulbs for your specific instrument.
- Dispose of old bulbs and batteries in accordance with local environmental regulations.
6. Choosing the right ophthalmoscope
When selecting an ophthalmoscope, consider factors such as the type of bulb, battery life, and overall durability. Many modern ophthalmoscopes now offer LED versions, which have largely replaced halogen as the industry standard due to their superior performance and longevity.
Explore the Keeler range of ophthalmoscopes today, including the Professional, Specialist and Pocket, together with their respective student set purchasing options, designed with the geographic region in which you are studying in mind.
You may also be interested in our range of binocular indirect ophthalmoscopes for hands-free examinations, including Vantage Plus, All Pupil II, Spectra Iris and our new and improved Vantage Plus Digital.
7. Conclusion
Understanding the different types of ophthalmoscope bulbs and their characteristics can help you make an informed decision when purchasing or upgrading your equipment. Whether you opt for the traditional halogen or the more advanced LED technology, ensure that your choice aligns with your specific needs and preferences.
Regular maintenance and proper care of your ophthalmoscope will ensure its longevity and optimal performance, allowing you to provide the best possible care for your patients.